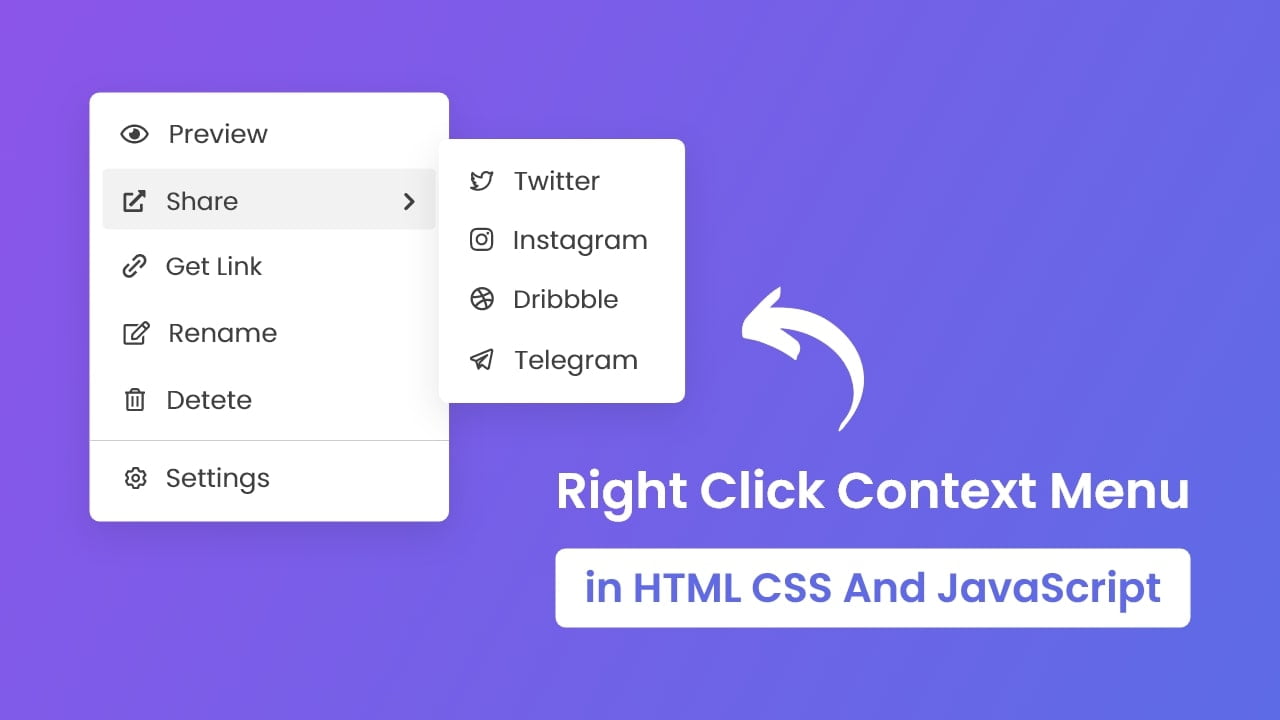
Hello friends, today in this blog, you’ll learn how to create a Custom Right Click Context Menu in HTML CSS & JavaScript. In the earlier blog, I have shared how to create a Custom Price Range Slider in JavaScript, and now it’s time to create a custom context menu.
A context menu is a contextual, shortcut, or pop-up menu that appears on the mouse right button click. It contains a limited set of choices that are related to the selected object.
In this project (Custom Context Menu), the context menu appears on the mouse right button click and disappears on the mouse left button click. On this menu, there is a sub-menus too. This sub-menu change its position from right to left if there isn’t enough space to show it to the right side. You can watch a demo or full video tutorial of it.
Video Tutorial of Right Click Context Menu in JavaScript
In the above video, you have seen the demo of this right-click context menu and how I created it using HTML CSS & JavaScript. I hope you liked this context menu and understood the codes of it. If you like this menu and want to get source codes or files, you can easily get them from the bottom of this page.
If you’re a beginner then, I suggest you watch the video first and try to create it by yourself rather than copy codes because, in the video, I have explained the main JavaScript line with written comments that helps you to understand the code more easily.
You might like this:
- Custom Captcha in JavaScript
- Build A Random Quotes Generator
- Create Auto-Resizeable Textarea
- Draggable Div Element JavaScript
Right Click Context Menu in JavaScript [Source Codes]
To create this Custom Context Menu in JavaScript. First, you need to create three Files: HTML, CSS & JavaScript File. After creating these files just paste the given codes into your file. You can also download the source code files of this context menu from the given download button.
First, create an HTML file with the name of index.html and paste the given codes in your HTML file. Remember, you’ve to create a file with .html extension.
<!DOCTYPE html>
<!-- Coding By CodingNepal - youtube.com/codingnepal -->
<html lang="en" dir="ltr">
  <head>
    <meta charset="utf-8">
    <title>Custom Right Click Context Menu | CodingNepal</title>
    <link rel="stylesheet" href="style.css">
    <meta name="viewport" content="width=device-width, initial-scale=1.0">
    <!-- Iconscout Link For Icons -->
    <link rel="stylesheet" href="https://unicons.iconscout.com/release/v4.0.0/css/line.css">
  </head>
  <body>
    <div class="wrapper">
      <div class="content">
        <ul class="menu">
          <li class="item">
            <i class="uil uil-eye"></i>
            <span>Preview</span>
          </li>
          <li class="item share">
            <div>
              <i class="uil uil-share"></i>
              <span>Share</span>
            </div>
            <i class="uil uil-angle-right"></i>
            <ul class="share-menu">
              <li class="item">
                <i class="uil uil-twitter-alt"></i>
                <span>Twitter</span>
              </li>
              <li class="item">
                <i class="uil uil-instagram"></i>
                <span>Instagram</span>
              </li>
              <li class="item">
                <i class="uil uil-dribbble"></i>
                <span>Dribble</span>
              </li>
              <li class="item">
                <i class="uil uil-telegram-alt"></i>
                <span>Telegram</span>
              </li>
            </ul>
          </li>
          <li class="item">
            <i class="uil uil-link-alt"></i>
            <span>Get Link</span>
          </li>
          <li class="item">
            <i class="uil uil-edit"></i>
            <span>Rename</span>
          </li>
          <li class="item">
            <i class="uil uil-trash-alt"></i>
            <span>Delete</span>
          </li>
        </ul>
        <div class="setting">
          <li class="item">
            <i class="uil uil-setting"></i>
            <span>Settings</span>
          </li>
        </div>
      </div>
    </div>

    <script src="script.js"></script>
  </body>
</html>
Second, create a CSS file with the name of style.css and paste the given codes in your CSS file. Remember, you’ve to create a file with .css extension.
/* Import Google Font - Poppins */
@import url('https://fonts.googleapis.com/css2?family=Poppins:wght@400;500;600;700&display=swap');
*{
  margin: 0;
  padding: 0;
  box-sizing: border-box;
  font-family: 'Poppins', sans-serif;
}
body{
  display: flex;
  align-items: center;
  justify-content: center;
  overflow: hidden;
  min-height: 100vh;
  background: linear-gradient(135deg, #8B55E9 0%, #5D6BE6 100%)
}
.wrapper{
  visibility: hidden;
  position: absolute;
  width: 300px;
  border-radius: 10px;
  background: #fff;
  box-shadow: 0 12px 35px rgba(0,0,0,0.1);
}
.wrapper .menu{
  padding: 10px 12px;
}
.content .item{
  list-style: none;
  font-size: 22px;
  height: 50px;
  display: flex;
  width: 100%;
  cursor: pointer;
  align-items: center;
  border-radius: 5px;
  margin-bottom: 2px;
  padding: 0 5px 0 10px;
}
.content .item:hover{
  background: #f2f2f2;
}
.content .item span{
  margin-left: 8px;
  font-size: 19px;
}
.content .setting{
  display: flex;
  margin-top: -5px;
  padding: 5px 12px;
  border-top: 1px solid #ccc;
}
.content .share{
  position: relative;
  justify-content: space-between;
}
.share .share-menu{
  position: absolute;
  background: #fff;
  width: 200px;
  right: -200px;
  top: -35px;
  padding: 13px;
  opacity: 0;
  pointer-events: none;
  border-radius: 10px;
  box-shadow: 0 5px 10px rgba(0,0,0,0.08);
  transition: 0.2s ease;
}
.share:hover .share-menu{
  opacity: 1;
  pointer-events: auto;
}
Last, create a JavaScript file with the name of script.js and paste the given codes in your JavaScript file. Remember, you’ve to create a file with .js extension.
const contextMenu = document.querySelector(".wrapper"),
shareMenu = contextMenu.querySelector(".share-menu");

window.addEventListener("contextmenu", e => {
    e.preventDefault();
    let x = e.offsetX, y = e.offsetY,
    winWidth = window.innerWidth,
    winHeight = window.innerHeight,
    cmWidth = contextMenu.offsetWidth,
    cmHeight = contextMenu.offsetHeight;

    if(x > (winWidth - cmWidth - shareMenu.offsetWidth)) {
        shareMenu.style.left = "-200px";
    } else {
        shareMenu.style.left = "";
        shareMenu.style.right = "-200px";
    }

    x = x > winWidth - cmWidth ? winWidth - cmWidth - 5 : x;
    y = y > winHeight - cmHeight ? winHeight - cmHeight - 5 : y;

    contextMenu.style.left = `${x}px`;
    contextMenu.style.top = `${y}px`;
    contextMenu.style.visibility = "visible";
});

document.addEventListener("click", () => contextMenu.style.visibility = "hidden");
That’s all, now you’ve successfully created a Custom Right-Click Context Menu in HTML CSS & JavaScript. If your code doesn’t work or you’ve faced any problem, please download the source code files from the given download button. It’s free and a .zip file will be downloaded then you’ve to extract it.


wow codingNepal. Amazing Projects