Image sliders have become an essential part of modern websites, as they offer an attractive and dynamic way to showcase multiple images or cards. Whether you are a beginner looking to increase your knowledge of HTML, CSS, and JavaScript or an experienced developer seeking inspiration for your next web project, you have come to the right place.
In this blog post, I will explore the 10+ image sliders created using HTML, CSS, and JavaScript. These sliders stand out from the rest due to their diverse range of implementations. While some of them are made using vanilla JavaScript, others use external JavaScript libraries like swiper.js or Owl carousel. So, whether you prefer vanilla JavaScript or external libraries, you will find a slider that suits your project requirements.
Each image slider is responsive and touch-friendly, which means it works on both mobile and desktop devices. In addition, I have provided the source code and a video tutorial for all the sliders on this list to make your learning process easier.
So, without further delay, let’s dive into the world of HTML, CSS, and JavaScript and discover the magic behind these 10+ JavaScript image sliders.
1. Draggable Image Slider in JavaScript
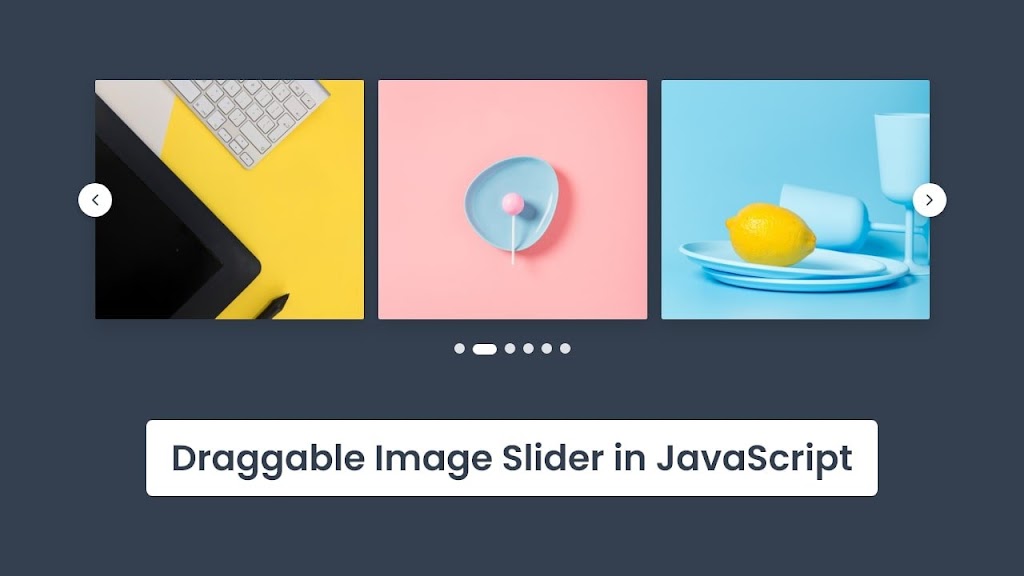
This is a touch-friendly draggable image slider that has been created using HTML, CSS, and vanilla JavaScript. The slider features several images that can be slid by either dragging them or using the next and previous buttons. On desktop screens, three images are displayed at a time, while on mobile screens, only one image is displayed at a time.
The slider is designed to work on all major browsers, such as Chrome, Firefox, and Edge, and it is also responsive and touch-friendly, making it ideal for mobile and tablet devices. Moreover, it is not built with Swiper.js, which makes it a great opportunity for beginners to learn how to create their image sliders from scratch using only HTML, CSS, and JavaScript!
2. Fullscreen Image Slider with Swiper.js
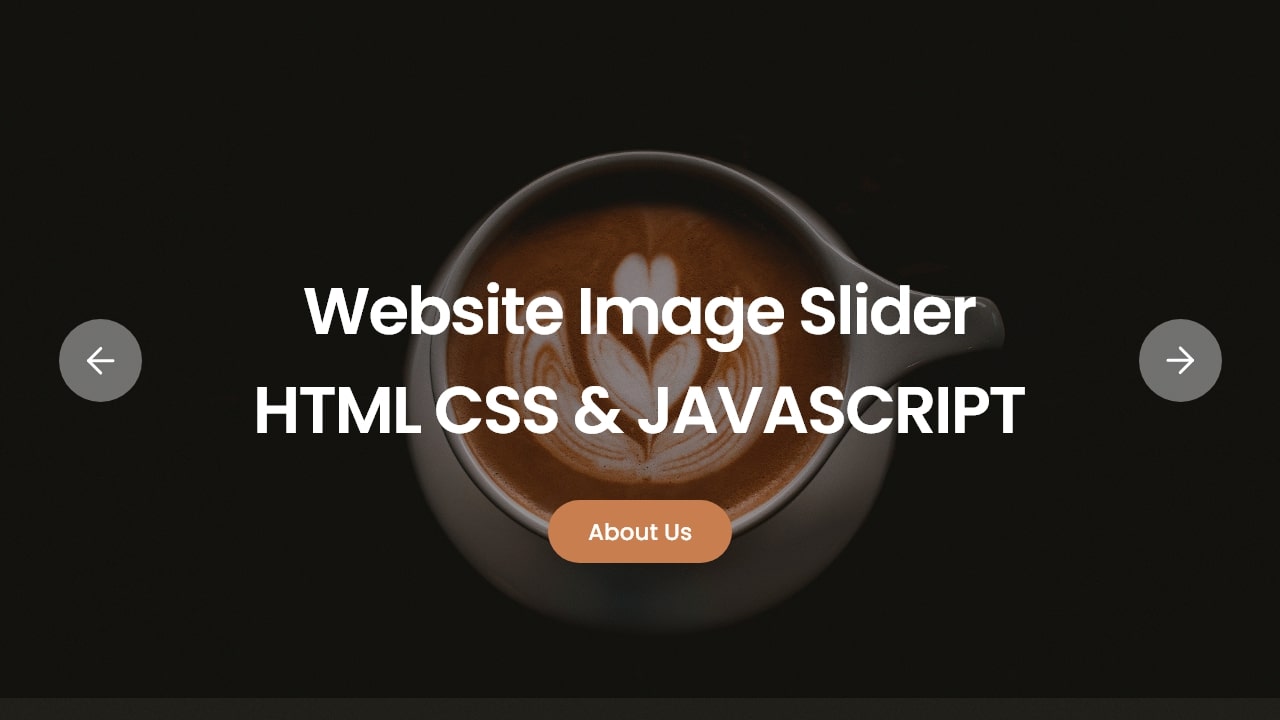
An image slider is a useful web element that can be used as a header or hero section on a website. It allows users to navigate through images by either clicking on the navigation button or dragging the image. Moreover, the slider includes a pagination feature that displays the total number of images in the website’s slider. These sliders are commonly used in various websites such as e-commerce, sports, newspapers, travel/tour, and many others.
To create this dynamic image slider, HTML, CSS, and Swiper.js are used. Swiper.js allows developers to easily implement touch-friendly sliders with smooth transitions, ensuring optimal performance across various devices and screen sizes.
3. Interactive Image Slider with an Indicator
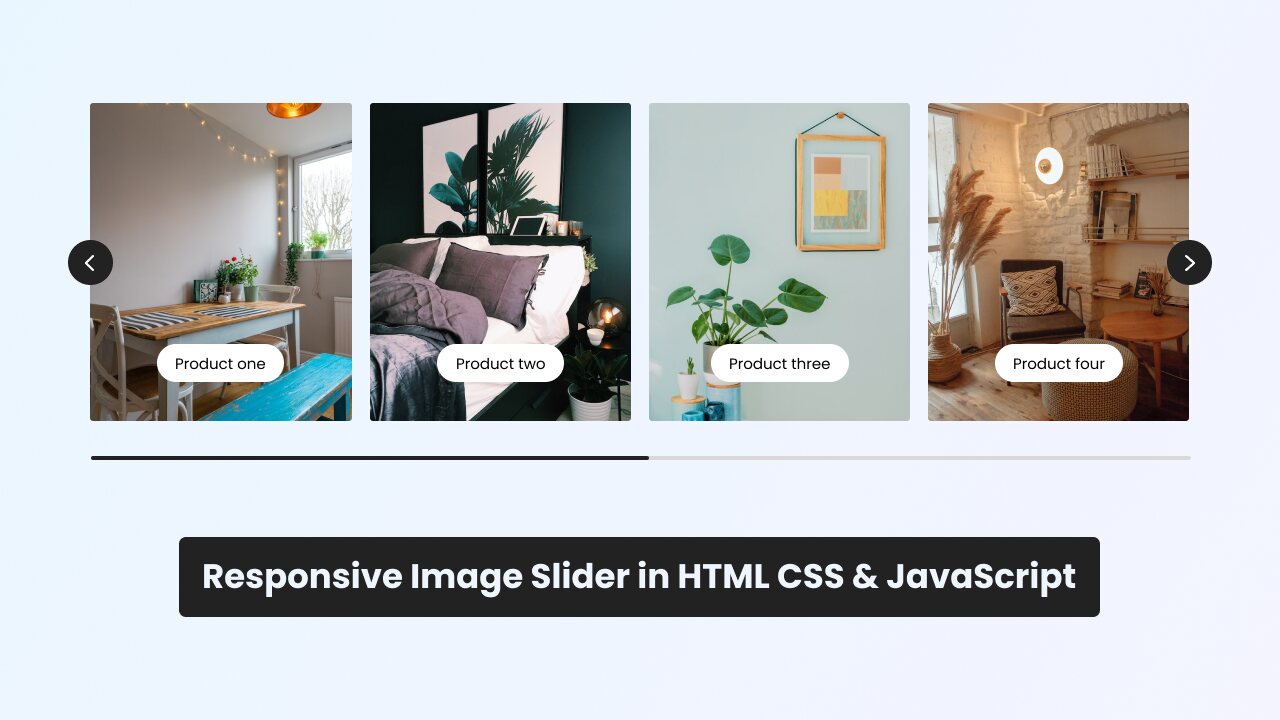
This is a responsive image slider that has been built using HTML, CSS, and JavaScript. It comes with two buttons, one for moving forward and the other for going back. It also features a horizontal scrollbar that can be used to slide images by dragging it. This slider is compatible with all major browsers, including Chrome, Firefox, and Edge, and can be used on mobile or tablet devices as well.
One of the noteworthy features of this slider is that it doesn’t require external JavaScript libraries such as SwiperJS or Owl Carousel. Hence, even beginners can understand the code required to build an image slider using HTML, CSS, and JavaScript.
4. Animated Image Slider with Pagination
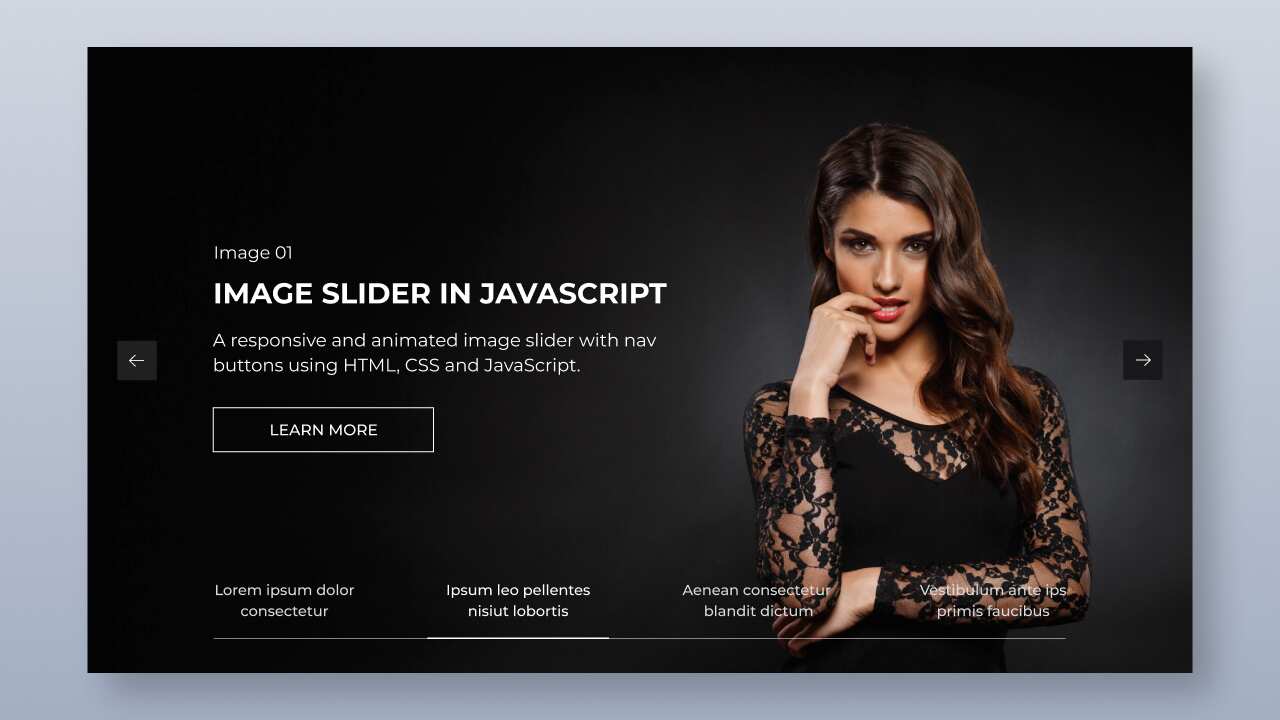
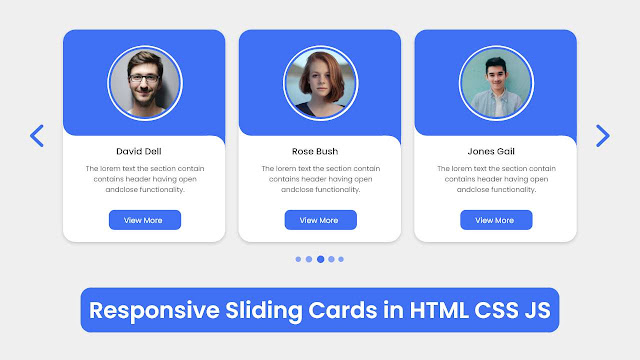
5. Responsive Infinite Image or Card Slider
This is a card slider or image slider that is responsive and draggable. It is created using HTML, CSS, and JavaScript. The slider allows users to slide cards by dragging them or by using the left or right buttons. It features infinite scrolling and autoplay functionality, and it is compatible with touch-enabled devices like smartphones.
I did not use any external JavaScript libraries such as Swiper.js to create this card slider. This project is ideal for beginners as it can help you develop fundamental web development concepts such as DOM manipulation, responsive design, JavaScript event listeners, and more.
6. Responsive Card Slider with Swiper.js
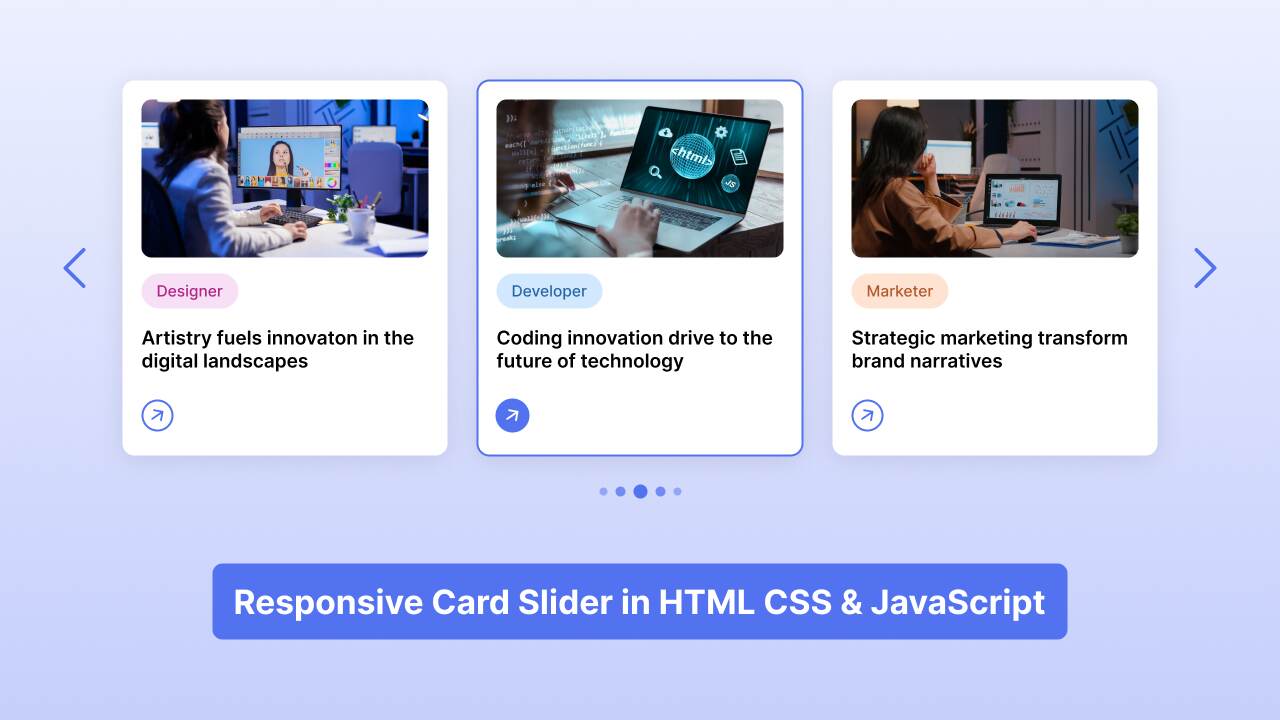
This is an infinite card slider that has been built using HTML, CSS, and Swiper.js. The slider displays three cards at a time and has pagination at the bottom that is easy to use. Users can navigate the cards by clicking the arrows or tapping the pagination dots. Each card includes an image, a title, a brief description, and a clickable button that takes visitors to additional content.
Since this card slider has been developed using Swiper.js, it is touch-friendly and works smoothly on any device and browser. It is an ideal project for beginners to learn how to create sliders using Swiper.js and make them look amazing using CSS!
7. Card Slider with Glassmorphism Effect
 This responsive card slider features a sleek glassmorphism effect and is created using HTML, CSS, and JavaScript. This slider allows users to navigate through the cards using slider buttons or pagination. To make it a modern, touch-friendly, and responsive slider, it uses SwiperJS, the leading slider library.
This slider is perfect for beginners in web development looking to add an interactive touch to their projects without extensive JavaScript knowledge, this slider is easy to integrate into websites, portfolios, and more.
8. CSS Image Slider with Animation
This image slider is designed using only HTML and CSS. It consists of five images, but four of them are covered with CSS. The slider allows you to slide each image. By clicking on one of the pagination dots, the image will appear with a beautiful animation, which is created using the clip-path CSS property.
If you’re new to coding and don’t know much about JavaScript, don’t worry! You can create this image slider to see how it works and get a feel for making simple yet animated CSS sliders. It’s a great way to improve your web development knowledge!
9. Responsive Card Slider in HTML & CSS
This is a simple and practical card slider built with HTML, CSS, and JavaScript. Users can navigate through the cards using buttons or pagination dots, making it easy to explore the content.
The slider uses SwiperJS, a popular library that ensures a modern design, touch-friendly navigation, and smooth performance on all devices and browsers. Each card can also function as a link, redirecting to a specific page if a link is provided.
10. Testimonial Slider with Swiper.js
This is a testimonial slider created using HTML, CSS, and Swiper.js. A testimonial is a UI element used on websites to display reviews, comments, or other information from satisfied customers or users. In this slider, users can see different user reviews by dragging the image, clicking on the arrow buttons, or using the bottom pagination dots.
The slider is fully responsive and touch-friendly, and on small devices like phones, the arrow buttons are hidden. This slider is a great way for beginner web developers to learn and create something practical and beautiful for websites.
11. Simple JavaScript Image Slider with Controls
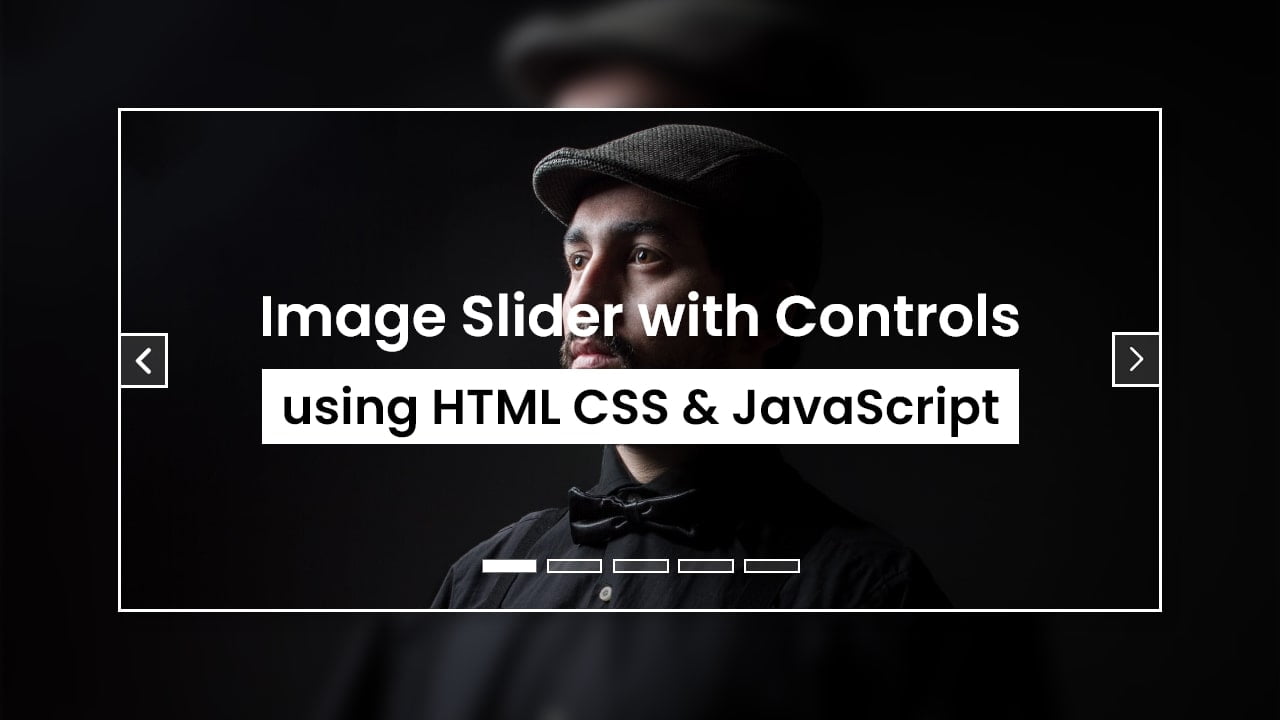
This is a simple image slider I made using HTML, CSS, and JavaScript. This slider consists of five images that can be easily navigated using the pagination buttons or the previous and next buttons. It is an ideal solution for those who want to create a slider without depending on any external JavaScript libraries.
The slider is simple, easy to comprehend, and gets the job done efficiently. Additionally, it serves as an excellent project for beginners to enhance their HTML, CSS, and JavaScript skills while learning how to create interactive elements for websites.
12. Image Comparison Slider with JavaScript
This is an image comparison slider that allows users to compare two images side by side. It’s built using HTML, CSS, and JavaScript, and it provides a seamless way to visually compare differences between two images.
By dragging the slider line, users can easily slide back and forth to reveal different portions of the images, making it simple to compare details or changes. This type of slider is especially popular on photography websites, where photographers can showcase their editing skills or demonstrate the effects of different photography techniques.
If you’re a beginner, creating this type of image slider can help you improve your coding skills while also providing a useful and interesting tool.
13. Simple CSS Card Slider
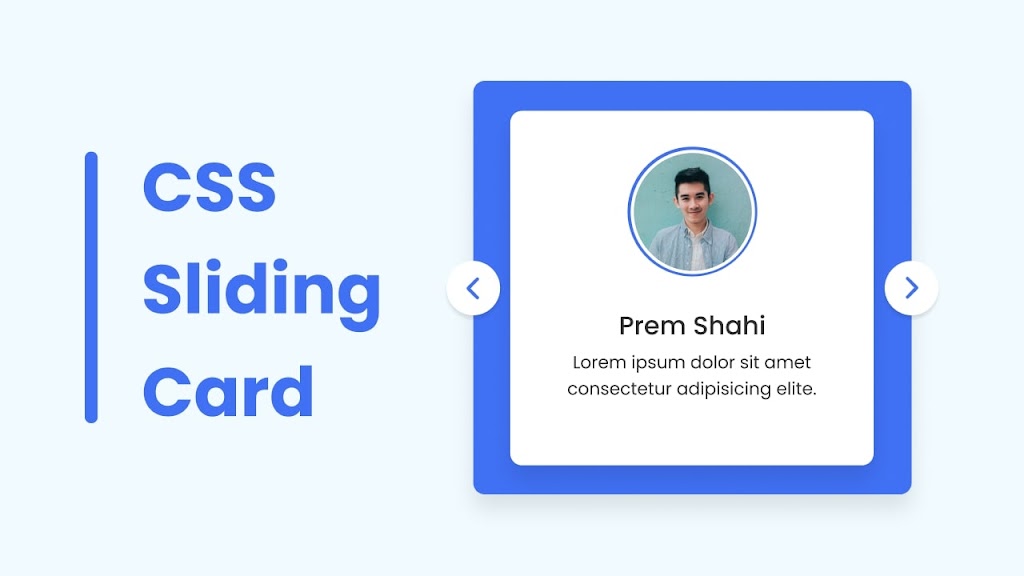
This is a simple and easy-to-create card slider that only requires HTML and CSS. The slider’s user interface will look similar to the one shown in the image. It can be easily scrolled by dragging or using the horizontal scrollbar.
The key to this slider’s functionality is the CSS scroll-snap property, which allows for smooth and intuitive navigation between cards. This simple yet effective feature enhances user engagement and provides a visually appealing way to showcase content.
Conclusion and Final Words
In conclusion, creating image sliders is a fantastic way for beginners to enhance their web development skills in HTML, CSS, and JavaScript while building real-world web projects. Whether you choose to create a responsive card slider or an image slider, each project provides a hands-on learning experience in developing interactive and visually appealing elements for websites.
Choose a slider project that interests you and start coding. Instead of solely relying on pre-existing code, building these projects from scratch will provide you with valuable hands-on experience and deepen your understanding of fundamental programming concepts. This approach will establish a solid foundation for future projects.
Don’t forget to check out the other image sliders available on this website. If you found this blog helpful, please share it with others.








I love You and your Development ❤️
Hey @Coding Nepal
Can you please create an auto slider with an image
Today you are uploading project like chatgpt and chatbot & Google gimi I’m always like your videos and subscribe you can provide me source code free of cost? Plzz
Glad you enjoy my Gemini Chatbot project. The source code of this project will be available for free on this website within a week. Please stay tuned and till then enjoy the video: https://youtu.be/31dmameWOR8
Nice article. I am also learning HTML | CSS with projects and got a lot of help from you <3.
love this its helping me more then my expectation………………..love from Maaz Sikandar
Glad it was helpful. Happy coding!